Basic Aerial Photography
- Drone Pilot Contractors

- Mar 7, 2023
- 2 min read

No matter whether you own an inexpensive drone that just happens to have a camera or a DJI Mavic 3, you will need to always use these basic steps in establishing your shot.
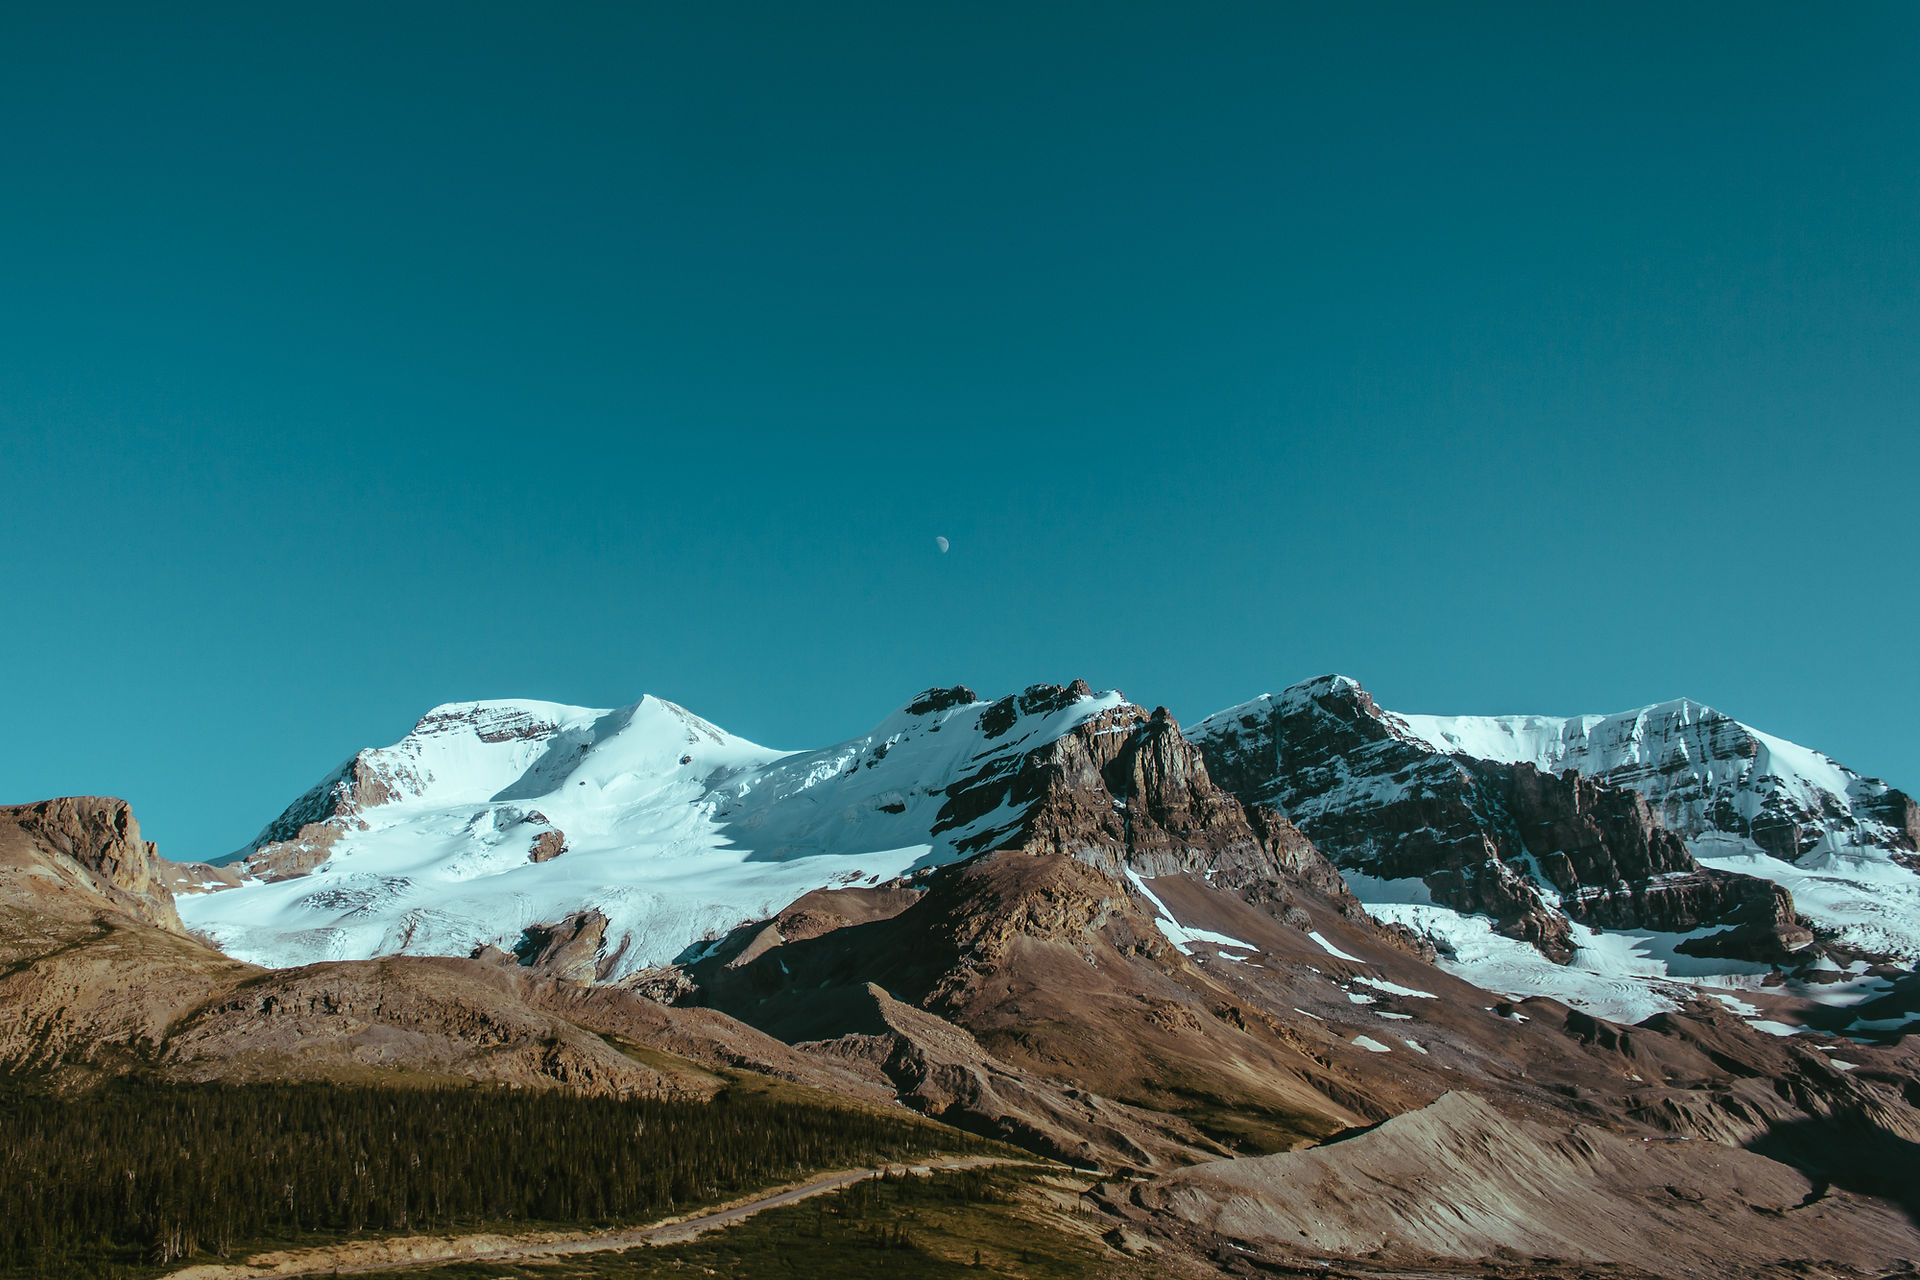
Frame and compose your shot using the Rule of Thirds which establishes a grid pattern that breaks an image into thirds horizontally and again vertically. The rule basically says: align a subject with the guidelines and their intersection points, place the horizon on the top or bottom line, or allowing linear features in the image to flow from section to section. The main reason for observing the rule of thirds is to discourage the placement of the subject at the center or prevent a horizon from appearing to divide the picture in half. I made the Horizon larger as I wanted to focus on the colors of the sky.
Shoot with the sun behind you to avoid blown-out or dark areas in the image as standard digital JPEG photos have very little editing room unless your drone has a camera that can shoot in a RAW format. Dark or light areas in RAW images can be edited and corrected in Photo Editing software such as Affinity Photo, GIMP, or Photoshop. Drones with cameras that can shoot in RAW typically cost $700 and up.
Use LEADING LINES such as the road in the image above to move the viewer between sections of your image.
Use the Aerial Perspective of the Drone to take images that would not be possible to see otherwise. An example would be a photo looking straight down.
The above items are just a few basics that you can use with all Drone Cameras no matter their features or abilities. As you typically spend more on a drone, they will have cameras where you can change the Shutter Speed, ISO, and Aperture as well as the ability to shoot in a RAW format.
I will discuss the more advanced features and provide some YouTube video links in a future post. Until then, FLY SAFE!
Comments